Learning how to photograph people is a rewarding hobby. Portraiture can showcase the best aspects of someone's character. It captures an individual's uniqueness, which can make them stand out. Sometimes, people feel uncomfortable or awkward with their poses. This can cause them to smile blankly or make embarrassed faces. They have an inherent quality which makes them stand out no matter how beautiful or perfect they may look. A few easy tips can help you create portraits that capture this quality.
Golden hour
A golden hour portrait photography session can yield some spectacular results if done correctly. This time of day is ideal for creating bokeh. You can manipulate the light to achieve a variety effects. Wide-open shots are great for capturing details and blurred backgrounds. These types of shots are also popular with landscape photographers and are ideal for capturing sweeping, dramatic panoramas. Here are some golden hours portrait photography tips to help ensure the best results.
Natural light
It is important to consider lighting when taking portraits. You should consider lighting, not only the background but also the direction and color. Portraits shot using front light are more flattering to the subject. However, backlighting can make a silhouette, blown out background, or create a gray or bright tone. A good way to avoid these problems is to use a reflector or an extra flash.
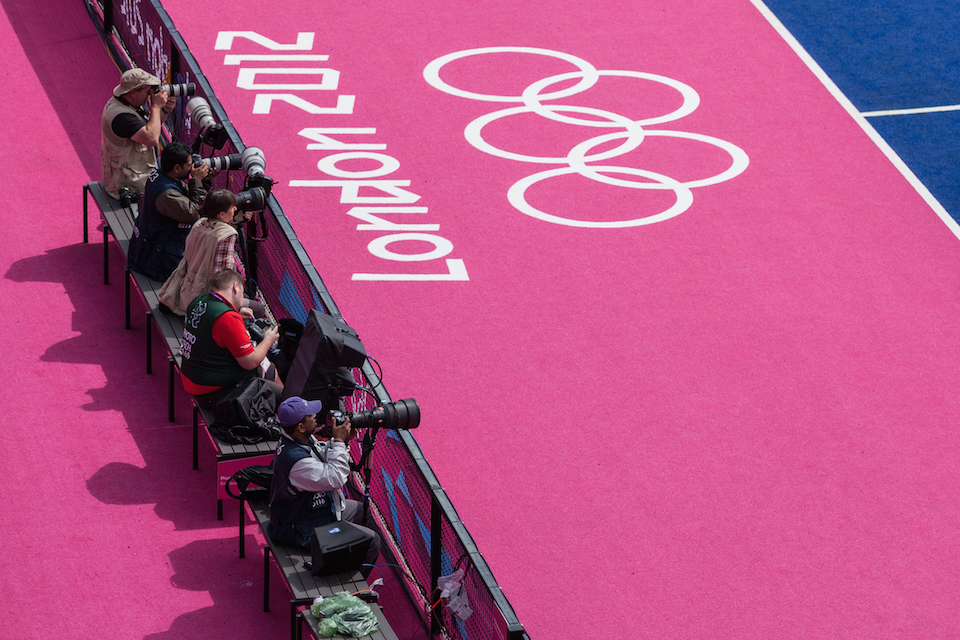
Using a long lens
Using a long lens for portrait photography can help you create a sense of scale in your photographs. To get a head-and-shoulders shot in portraits, you might need to stand further back than normal. You might want to use a 300mm zoom lens if you are photographing a child. This will give you a more realistic look. A 14mm lens will let you capture more intimate shots, while a long lens will give your subject a longer neck.
Using fill flash
Fill flash can be used in portrait photography to save backlit portraits. When shooting in Auto mode, the subject's face often appears silhouetted. This happens because the camera considers the scene well-lit and exposes subject appropriately. You can change these settings by turning on fill flash to create stunning portraits without shadows. Here are some ways to use fill Flash in Portrait Photography:

Communicating with your subject
Communication is one the most important skills that you can develop when working with portrait photographers. Communication is essential for the success of any portrait photography session, whether it's taking candid shots and posing models. You can greatly influence how your subject poses by reading their body language. Here are some tips that will help you communicate effectively with your subject.
FAQ
What is the rule to thirds in photography
The rule of Thirds allows you to create unique compositions with minimal camera settings. It divides your image in nine equal parts, vertically and horizontally. This creates three main areas for your subject to appear. These are the top (upper left corner), middle (center) and bottom (lower right). These areas can serve as guides to help you position your subject within your frame.
The rule to thirds allows you to avoid placing important elements too closely together or too far apart. They might not have enough space to make an impact on the eye if they are placed close together. They might lose focus if they are too close together.
Light Room can enhance your photos.
You can get great photos if you start early. It's always better to take as many shots as possible and then pick the ones that will give you the most bang for your buck.
Lightroom allows you to do this by letting you see how different settings affect each photo. You can also adjust these settings on-the-fly without going back into Photoshop. This allows for quick experimentation with what looks good or not.
How can I learn photography by myself?
If you want to learn how to take great photos, there are many ways to do this. You have the option to buy a book and attend classes, join an on-line community, or watch YouTube tutorials. It's better to learn the art yourself, if your goal is to take great pictures. By doing it yourself, you are in complete control of what goes into each shot. And as long as you keep learning, you'll always improve.
In fact, one of the best things about digital photography is that you don't even need expensive equipment. You only need a computer and an internet connection to take pictures. The rest is up for you.
Here are some ways to get started.
-
Acquaint yourself with the manual settings of your camera.
-
Learn how to use the controls.
-
Make sure to take lots of pictures.
-
Modify them.
-
Share them.
-
Keep practicing.
-
Experiment.
-
Consider different angles and perspectives.
-
Use light sources creatively.
-
Practice makes perfect.
-
Do not be afraid to fail.
-
Be patient.
-
Have fun!
Statistics
- In this case, 100% of readers who voted found the article helpful, earning it our reader-approved status. (wikihow.com)
- The second easiest way to get blurry photos 100% of the time is to use a cheap filter on the front of your lens. (photographylife.com)
- That's the easiest way to get blurry photos 100% of the time. (photographylife.com)
- This article received 13 testimonials, and 100% of readers who voted found it helpful, earning it our reader-approved status. (wikihow.com)
External Links
How To
How to take macro shots in photography
Macro Photography refers to the ability take pictures of small objects like insects and flowers at close range. Macro comes from the Greek makros (makros) which means large. It is possible to capture images of very close objects if you have a lens with a focal range greater than 50mm.
A macro lens that is good should have a long working range and a fast aperture to get sharp images. Also, avoid moving while taking photos as it could blur your image.
Here are some ways to get great macro photos
-
Use a tripod. If you don't have one, try to set up a table or chair where you won't accidentally knock something over. This will reduce the chance that you move when trying to take photos.
-
Choose the right lighting. Many macro lenses have built-in light filters. If you don't already own one, get one. It helps to avoid overexposure.
-
Be patient! Shooting macros takes practice. It's not always easy to see the perfect macro, but it is worth trying until you do.
-
Shoot in RAW format. RAW files are more detailed than standard JPEGs and contain more data. RAW files are best for editing later because you can make adjustments like cropping and color correction after the fact.
-
The background is important. Even if your foreground object is beautiful, the background can still add interest to your photo. You should include it in any photo.
-
Keep learning.